Image credit: Speedrookie/Reddit
Q-Flash Plus is a feature of newer motherboards that allows you to flash the BIOS without the need of a CPU, RAM or video card. It just requires a power supply for the motherboard and a specially formatted USB containing the bios update file.
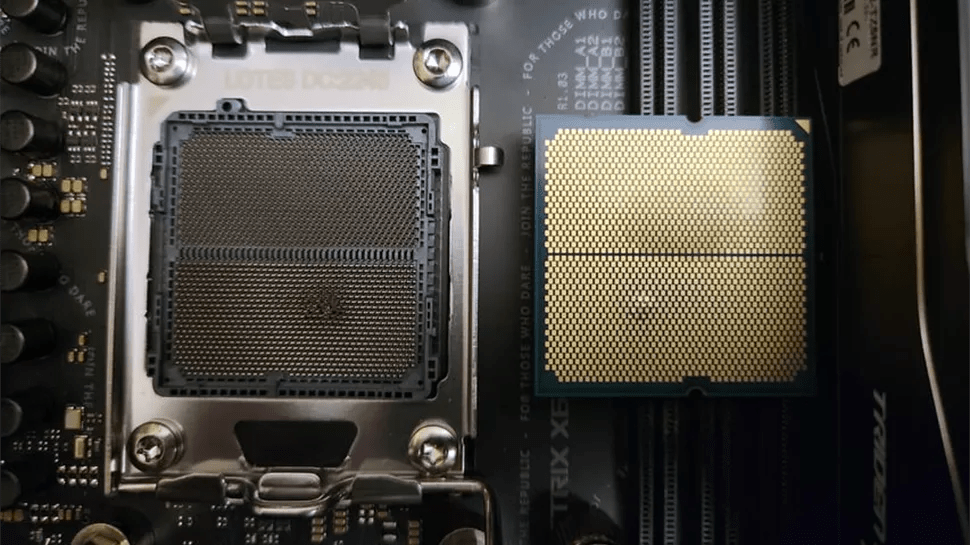
This feature is especially useful due to reports of the latest AMD Ryzen 7000 series burning out in some circumstances, which was something I was very keen to avoid with my latest computer build and which appears to be remediated with the latest BIOS releases on most boards.
I’ll cover step-by-step the process for my own Gigabyte B650M DS3H, but the overall steps will be extremely similar for most boards.
The Process
Properly Format a USB Stick
- Acquire a USB stick, it doesn’t need to be more than about 1GB but larger ones should normally work.
- Format it as FAT32 with a partition size of 1GB, on Windows this can be done by opening the “Create and format hard disk partitions” application found by searching in the start menu.

- Once formatted, go to the relevant manufacturers page for your motherboard and download the latest BIOS update, for me, it’s version F7a, which can be found here – https://www.gigabyte.com/Motherboard/B650M-DS3H-rev-10/support#support-dl-bios
- Once downloaded, extract the files from the zip file.

- Rename the bios update file exactly as follows, ensuring you also rename the file extension – “gigabyte.bin”
- Copy the .bin file to the prepared USB stick, remove any other files on the USB stick if present.
Flash the BIOS
Next, we’ll move on to flashing the BIOS which is a relatively straightforward operation barring any issues.
- Plug the USB stick into the QFlash USB port on the motherboard, on my own model this is indicated as a red USB port. If you’re unsure which port it is on your own be sure to download the manual and look for a component described similarly to below –

- Connect the Power Supply (PSU) power cables to the motherboard and ensure the PSU is turned on.
- Press the QFlash Plus Button, this is often a small circular button right of the QFlash USB port but can differ between models. Again be sure to check the manual.
- The motherboard should indicate it is flashing the motherboard BIOS by intermittently flashing a light, your PSU will also start to spin to indicate the motherboard is drawing power.
- This can continue for 5-15 minutes so leave it alone until it stops flashing and the PSU stops spinning.
- Unplug any cables and the USB stick. The motherboard should now be flashed.


Leave a comment